 Cooking a fabulous Easter dinner at home may seem like a giant un-doable feat! I am here to tell you that if you put your mind to it and set aside some time, it can most certainly be done. Below are some recipes and guidelines to get you going and ready to impress any guest welcomed to your home on April 16th.
First is the ham. When picking out your ham, you want to make sure it’s cooked. You also want to make sure you have enough for your guests. The proper method is ¾ of a pound per person for bone-in ham, and ½ of a pound per person for boneless.
For this recipe you’ll need a Reynolds Oven Bag. This helps contain the juices from the ham while it’s cooking. You will need all the juices in the next recipe.
Easter Ham
Ingredients:
1 tbsp flour
Bone – in ham
Directions:
- Preheat oven to 325 degrees.
- Shake flour in large sized oven bag, place in a roasting pan at least 2 inches deep. Trim skin and fat from ham, leaving a thin layer of fat.
- Place ham and fat trimmings in oven bag
- Close bag with nylon tie. Cut six ½ inch slits in top.
- Bake for 13 minutes/pound or until meat thermometer reads 140 degrees. Let stand in bag for 15 minutes.
This ham should be delicious!
The next recipe is one for a delicious treat that is enjoyed down south. Like I said before you’ll be using all the juice from the ham that you gathered with the oven bag.
Greasy Rice
Ingredients:
Rice – extra long grain, white
Baked ham juice
Maybe some chicken broth
With this recipe, you need to use your math skills. We all know that the formula to cooking plain white rice is 2 cups of water to 1 cup of rice. Well, in this recipe, you will be using the ham juice instead of water. So, for every 2 cups of ham juice, you need 1 cup of rice. If you start running out of juice and need just a little more to make a cup, use chicken broth. Like, if you have 3 ¾ cups of ham juice, but need 4 cups to make 2 cups of rice, just add ¼ cup of chicken broth. That should be just fine.
Directions:
- Measure out the ham juice from the oven bag.
- Use formula from above to determine how much rice you will need.
- Bring ham juice to a boil in a large pot.
- Add rice.
- Cover the pot and turn down heat to Low – or 2 – for 15 minutes. Serve.
Collard greens are a big hit down south. They are packed with vitamis and add a pretty green color to your arrangement of foods.
Collard Greens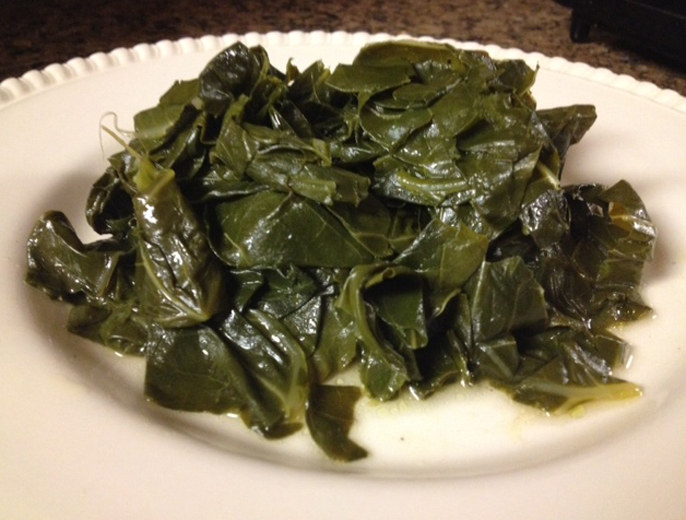
Ingredients:
2 bags of fresh, chopped collard greens
1 can chicken broth
1 can beef broth
1 ham hock (can be found at Walmart)
1 ½ tbsp sugar
Salt and pepper to taste
Vinegar is optional
Directions:
- Wash the collards by pouring them into a clean kitchen sink filled with cold water. Stir them around with your hands in order to get any dirt off of them. Let them sit while you get the broth ready.
- In a large pot, add chicken broth, beef broth, ham hock, and sugar. Bring to a boil.
- Transfer collards from sink to pot
- Turn down heat to low-medium, or 3-4
- Cook for 2 hours until the collards are tender and darker in color.
This next recipe is a common fave. It’s sure to make everyone happy campers!
Deviled Eggs
Ingredients:
6 large eggs
2 tbsp mayo
1 ½ tbsp sweet pickle relish
1 tsp yellow mustard
1/8 tsp of salt
Dash of pepper
Directions:
- Place eggs in a pot. Cover with water. Bring to a boil. Cover. Remove from heat, let stand for 15 minutes.
- Drain immediately and fill saucepan with cold water and ice. Tap eggs firmly on counter until cracks form all over the shell. Peel under cold water.
- Slice eggs in half lengthwise and carefully remove yolks. Mash yolks with mayo. Add relish, mustard, salt and pepper; stir well. Spoon yolk mixture into egg whites.
Omg I am in love with this next recipe. Pineapple upside down cake has been around in my family for longer than I can remember!
Pineapple Upside down Cake
Ingredients:
1 box of Classic Butter golden cake mix and all the ingredients needed to make it (eggs, butter…etc)
1 can of pineapple tidbits
1 tbsp brown sugar
1 tsp lemon juice
Directions:
- Make the cake batter just like it says on the box but instead of using water, use the pineapple juice from the can of pineapple tidbits.
- After you have drained and used the pineapple juice from the canned pineapple, dump the pineapple into a medium sized bowl and add the brown sugar. Mix together.
- Spread the pineapple/brown sugar mixture onto the bottom of a cake pan and then add cake mixture on top.
- Bake it like it says on the box.
Enjoy!
These recipes will give you a great start on your journey to preparing an Easter dinner all by yourself. I hope you find them easy enough to pull off and yummy enough to make again.
Happy Easter and God bless!

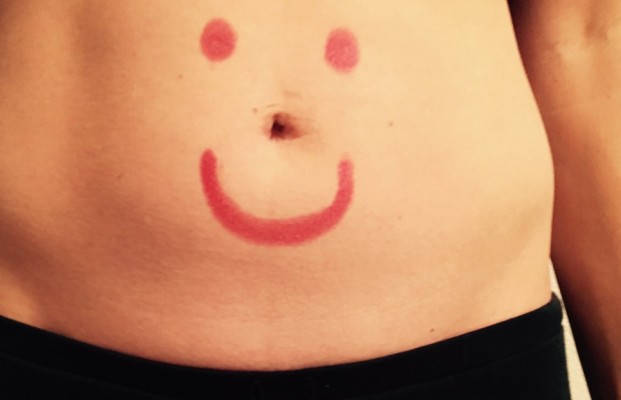
 Per my own experience, owning and taking care of a cat fills my heart with feelings that are seemingly impossible to ignore. I personally know what it’s like to mourn over another human being, and also know that when I had a cat, I felt better. When I was 22, I made the hardest decision of my life and decided to give my newborn baby to a new family with the hopes and wishes that she would prosper and be provided for under their care. Although I knew I made the right choice given my situation (which was a situation I wasn’t able to escape from), I still felt empty and felt like I had just given all of myself away. Then I met Clark. He turned my life around by filling the space that my daughter would have. He gave me reason to strive to rise from my depressed state so that I could be the cat mom he needed and deserved. There are many reasons that owning a cat or dog are good for you. If you’re struggling on the inside, consider checking out the


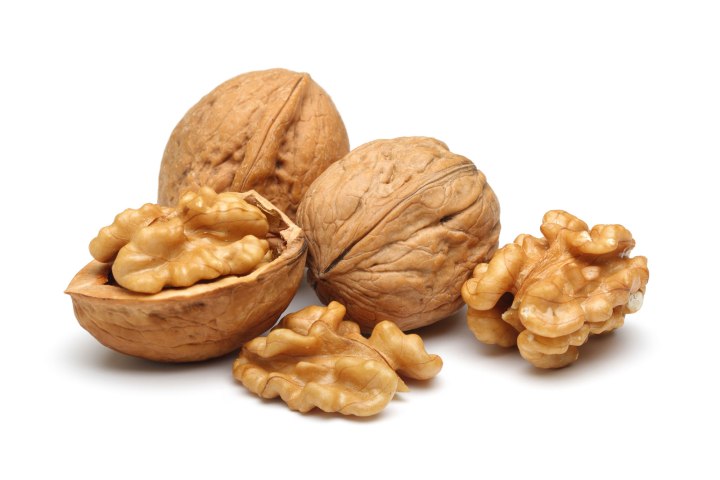
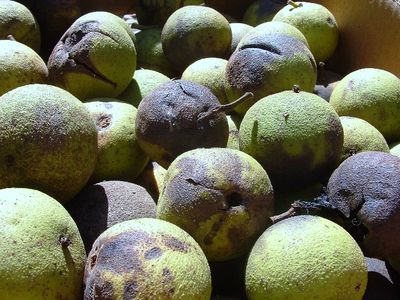
 Whether you know it or not, it is common to be living with pesky parasites within your body. This may seem like some third world myth, but just because we live in America doesn’t mean this is false. The ways of contracting a parasite vary; you could accidentally eat contaminated meat, swim in a pond of lake with these critters, or even smell a flower crawling with microscopic worms.


 First off, you may want to upgrade your soap. If you haven’t heard, Dr. Bronners Organic Castille Soap honestly works wonders. It is made from natural ingredients (including coconut, jojoba, and hemp oils) and stays away from harsh chemicals which can cause cancer. Dr. Bronners can be bought online or in stores. I know Target carries it, but I don’t think WalMart does. And just a forewarning, a little bit goes a long way. Honestly, two or three drops in your palm will allow you to wash your face and neck. A 4 ounce bottle will last you two semesters if you only use it on your face.
 I know it may sound weird, but there’s something so soothing about using a coarse rock to exfoliate my skin instead of a washcloth. When I exfoliate, I do it while the soap is still on my skin and rub my rock in a circular motion all over my face. I start on my right cheek, go towards my nose, over to the left cheek, down to my chin/mouth area (you can even get your lips!), and then up to my forehead. This will make sure dead skin is off of your face, allowing for different treatments to penetrate deeper and more evenly.
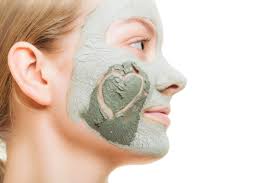
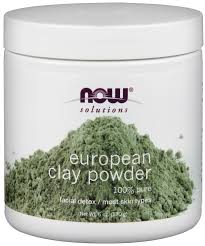 Another thing you can do is make and apply a clay mask. My favorite way to do this is by using a dry clay powder (Now Foods European Clay Powder is what I use). It’s easy to prepare and offers amazing results. You definitely want the mask to be warm when applying it to your skin to work best and open your pores. The way to do this is by putting about 2 inches worth of water into a small pot. Put whatever liquid you’re using with the clay in a small ramekin and place the ramekin into the water. Heat the pot of water with the ramekin inside to get the liquid warm. Remove the ramekin from the water, turn the stove off and add the clay to the ramekin and mix together until smooth.

 The final step to our skin care regimen is to moisturize. Personally, I prefer to use oils on my skin. I find that lotions tend to be made with fillers, and are in turn, a waste of money.